An SSL certificate secures your website by encrypting the connection between your website and the end user.
Since 58.4% of users primarily or solely use the Chrome browser, it’s important to be sure your WordPress website is secure with SSL and HTTPS to help visitors trust your website.
Obtaining an SSL certificate can be quick and free. Let’s Encrypt is a prominent and trusted provider of free SSL certificates through the help of the automated client Certbot.
Today, I’ll share more detail on SSL, HTTPS, Let’s Encrypt and Certbot as well as how to manually install, manage, and renew a free SSL certificate on your web server to secure your WordPress website so it displays error-free in Chrome.
What is SSL and HTTPS, and Why Do I Need It?
An SSL certificate is a public digital document issued by a Certificate Authority (CA) for a domain name that binds a cryptographic key to its attached website.
All websites with a valid SSL certificate use HTTPS and SSL protocol, which encrypts communication between the website’s server and end user’s browser.
Having a valid SSL certificate for your website confirms that your site is trustworthy for users to enter information as opposed to a website simply posing with “https” in their URL. It also prevents hackers from hijacking the connection to obtain unauthorized access.
For details, check out Why HTTPS and SSL for WordPress Websites are Absolutely Essential.
What is Let’s Encrypt?
Let’s Encrypt is a automated CA provided by the Internet Security Research Group (ISRG), a non-profit that’s dedicated to making the internet a more secure place. Let’s Encrypt only issues free SSL certificates, and the process is expedited by running a certificate management agent on the web server.
Types of Certificates
Let’s Encrypt authenticates a Domain Validation (DV) certificate, which is the lowest level certificate a CA offers, and only confirms that a website owns the domain name to which it claims.
As of January 2018, Let’s Encrypt also offers a wildcard certificate, which allows you to secure all subdomains of a website with a single certificate. For example, info.example.com and about.example.com.
You also must have the specific ACMEv2 protocol and as a result, a client that has been updated to support ACMEv2.
For details, check out ACME Client Implementations.
Let’s Encrypt certificates are valid for 90 days, no exceptions, and they recommend renewal every 60 days so you have 30 days to work out any possible issues. Although, it’s possible to configure automatic renewal, depending on your server.
How to Get a Certificate
The easiest way to obtain a free SSL certificate from Let’s Encrypt is through your web hosting.
Let’s Encrypt has partnered with many web hosts as well as a number of providers that enable Let’s Encrypt and redirect to HTTPS by default.
If your hosting service isn’t aware of Let’s Encrypt, you can contact them and let them know it’s an option.
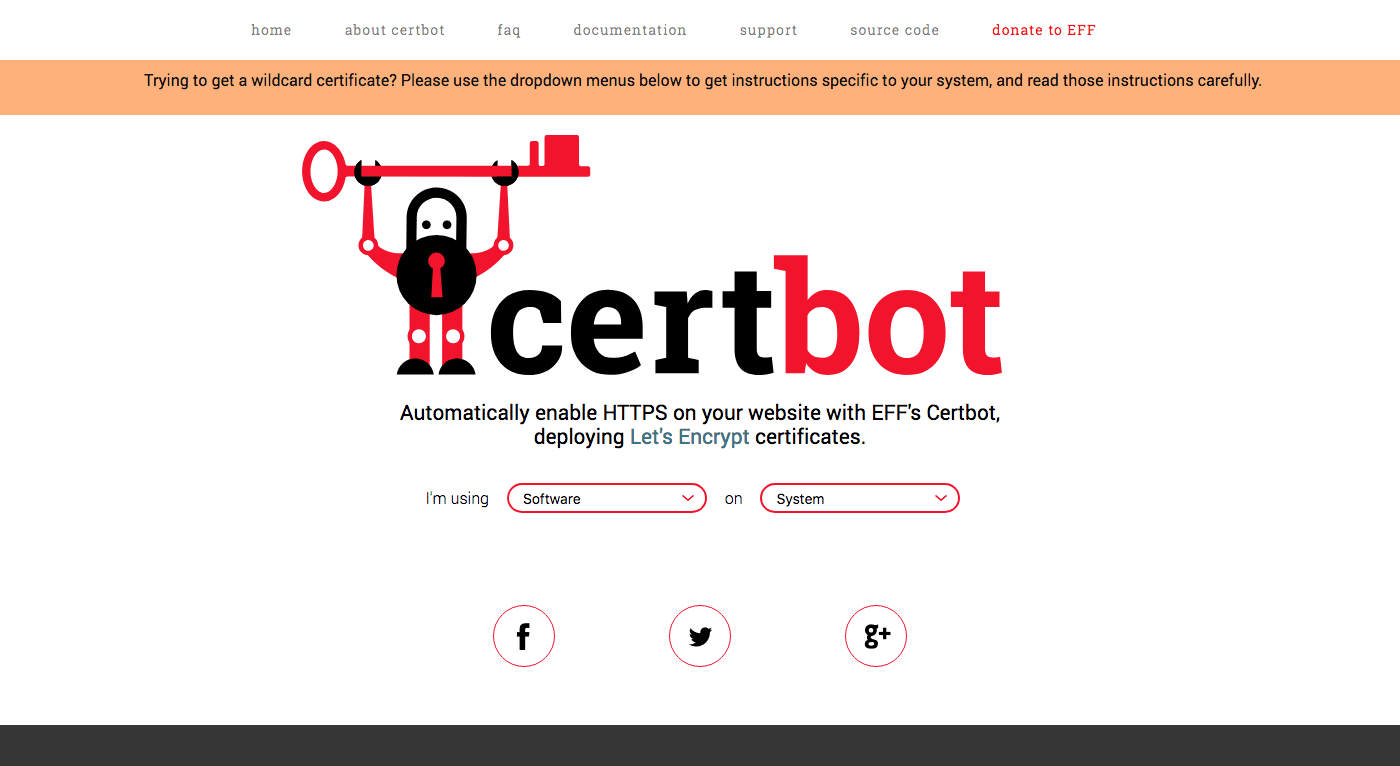
If your hosting service doesn’t have compatibility, one of the easiest ways to put a Let’s Encrypt free SSL Certificate on your web server is with Certbot, which is an automatic client that fetches and deploys your SSL certificate on your web server.
According to the Certbot documentation, “Certbot aims to build a network that is more structurally private, safe and protected against censorship.”

Installing Certbot
Certbot is packaged for a variety of different operating systems and servers. The best way to figure out an ideal setup is to go to Certbot’s website and read the specific installation instructions.
In most cases, you need root access or admin-level capabilities to authorize CertBot.
Installation will typically occur via SSH, a secure shell cryptographic protocol that allows file transfers over insecure networks. Popular SSH Clients are Terminal for Mac OS X and PuTTY for Windows.
Installing The Certificate
Depending on your setup and the needs of your site, there are multiple ways to install a Let’s Encrypt DV certificate on your site. The Certbot website walks you through the installation process based on your specific server setup.
As previously mentioned, you can also install a certificate automatically through your web host if they have chosen to make this option available. Consult your host’s documentation for setup instructions as each web host varies.
If you’d like to install a wildcard certificate, you’ll have to use a DNS plugin.
You can check out the Certbot Documentation for details.
Standalone Mode
If you don’t have server software such as Apache or Nginx, for example, and you’re not interesting in getting any, the standalone plugin approach is a suitable option.
The plugin will need to bind to web server ports 80 (for HTTP) or 443 (for SSL) to validate the domain so it’s possible you may need to free up those ports on your server beforehand.
They’re both used to load your site, but Certbot can throw errors if neither are available. The process of closing and opening ports depends on your operating software, so consult the specific documentation needed as necessary.
After making sure Certbot is installed and that either port 80 or 443 is available, enter the command below into your SSH client. Note that depending on which port you use, the command will be slightly different.
//For Port 80
certbot certonly --standalone --preferred-challenges http -d example.com

//For Port 443
certbot certonly --standalone --preferred-challenges tls-sni -d example.com
Breaking it down, certonly obtains (or in certain contexts, renews) a certificate, but does not install it, –standalone tells Certbot to run a standalone web server for authentication, –preferred-challenges designates the post that Certbot will use and -d specifies the domain name for which you’re requesting an SSL certificate.
After running the command, you’ll be prompted to enter your email address and agree to the terms and conditions.
When finished, you’ll receive a message telling you the process is complete as well as the location of your certificate.
Webroot Plugin
Using the webroot method is an option if you have the capabilities to modify content on your server. The webroot method of installing a certificate places a validation file at a specific location on your web server.
This method is handy because you don’t have to switch any ports and don’t need to fret about bringing down a live site during the installation process.
It may be important to know that to use the webroot plugin, you need to make sure your server is configured to show files from hidden directories, and specifically, the /.well-known folder.
Run this command in your SSH client to install the webroot method:
certbot certonly --webroot -w /var/www/example -d www.example.com -d example.com
The certonly command obtains the certificate, –webroot tells Certbot the method we’re using, and you’ll need to include -w or –webroot-path and then the file path containing the uppermost directory that has the files served by your web server, –webroot-path /var/www/html being a common webroot path.
For details, check out the Certbot documentation.
Where Your Certificates are Located
All keys and issued certificates can be found at /etc/letsencrypt/live/$domain, which is kept updated when renewals occur.
Here’s a list of the files in your certificate:
- Privkey.pem – Your private keys are stored in here and should be kept secret, even from Certbot developers. But, you must keep it accessible to the server, though, only accessible by the root user.
- Fullchain.pem – All your certificates are stored here and if there are multiple, the first is the server certificate.
- Cert.pem – This contains the individual server certificate.
- Chain.pem – All intermediate certificates as well as certificates needed to validate the server are stored here.
If you would like to check your file contents of the directory, use the ls /etc/letsencrypt/live/example.com command in your SSH client to display the listing.
Renewing Your Certificate
Certbot aims to make renewal as easy as possible by checking all installed certificates for impending expiration and then attempting to renew them.
The command below checks multiple certificates and always takes into account whether or not they’re near expiry.
certbot renew
It will renew any certificate that has less than 30 days of validity left. You can run it as frequently as you want as there’s no danger of early renewal.
If you have multiple domain names and would like to renew only one of them, this command using certonly will do the trick:
certbot certonly -n -d example.com -d www.example.com
Please note: Certbot recommends including -n or –noninteractive to prevent blocking user input.
Conclusion
Installing an SSL certificate is an essential security measure for any WordPress site. Let’s Encrypt and Certbot provide quick and free ways to secure your domain and website with HTTPS and an SSL certificate.
For a comprehensive details, check out the extensive Certbot documentation and community forum.
Were you able to successfully install a free SSL certificate with Let’s Encrypt? What are your reasons for installing an SSL certificate? Share your experience in the comments below.


Really this is very insightful information keep updating this types of article to helping the people. I also follow this steps which are mentioned in this article.