
Cloning a WordPress website is not a very common practice. However, sometimes there are actual reasons to duplicate your site. For example, when you move your site to a new web host or domain name, cloning a site could be a lifesaver and cut hours of work. It is also useful to clone a site for testing and development purposes.
All in all the cloning process is not that difficult. You can use the Duplicator plugin for cloning purposes. This plugin serves as a tool to migrate, copy, move and clone websites from one location to another, and also can be used as a backup utility.
#1. Install and activate the Duplicator plugin
Our first step will be the installation and activation of the plugin. You don’t have to configure any settings, just start working right away.
In the Plugins > Add new section find the Duplicator plugin and click Install. Next, Activate the plugin.


How does the Duplicator work? The plugin makes it possible to clone your site by creating a backup and then unpacking it to a new location.
#2. Create a copy of your website
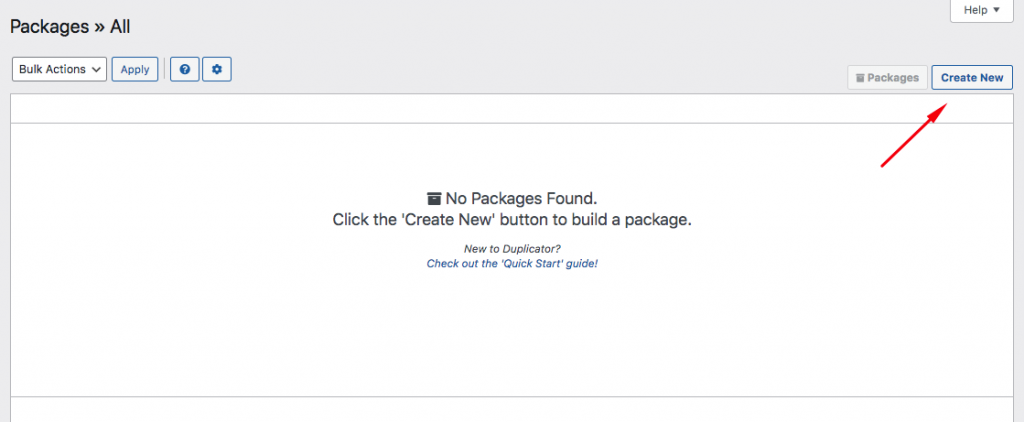
After the plugin activation, find the Duplicator tab in your dashboard and click it. On the packages page choose the option “Create new”.

Enter the name of a new package.
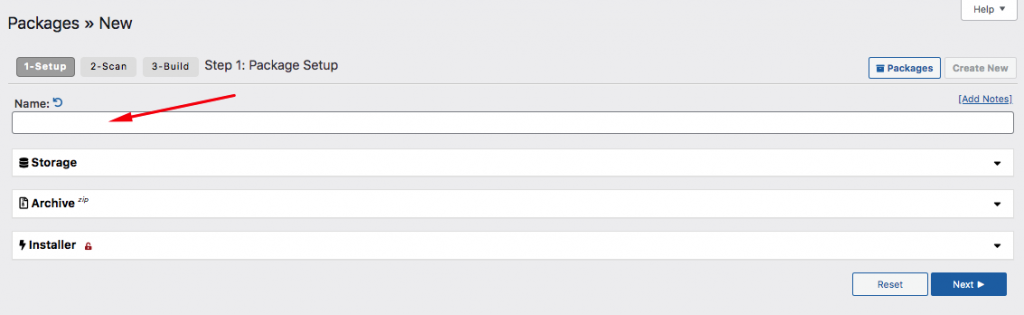

Click the Next button to continue. This will start the Duplicator wizard. This stage is for Duplicator to scan your website and check whether the export will properly work. The plugin may find an issue. In that case, you will see a warning. Usually, it’s normal for several issues to occur, as this depends on the web host and your website’s size.


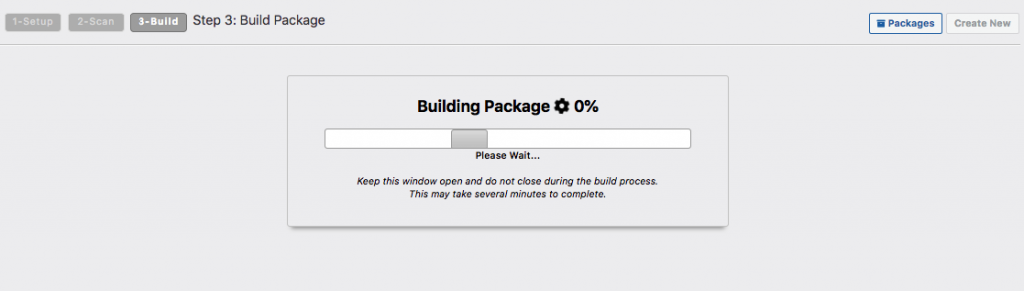
If no problems were found, you can continue and click the Build button.
After this, the site will be compressed into one downloadable package. The Duplicator package consists of a pair of files that enable you to set up a clone of the site on a new server using a standalone installer. These files are a PHP installer and .zip file with all site’s content
The backup process will take some time. Once Duplicator has finished it, you’ll get the link to download the archive file and installer script (those two files we mentioned). Both files are very important for the proper clone of the site.

We suggest using the “One-click Download” option to download two files at once.


Depending on the browser you are using, you may be warned that there is a download of multiple files. Just click Accept.
#3. Upload a copy of your site to the new location
Our next step is to upload the downloaded files to the new location. The new location can be either a live website or site on the local server.
If the new location is on your local server you can just copy and paste the files into a subfolder in htdocs or www folder. For example, C:\wamp\www\mynewsite\
If the site is live on a different host, you will be needing an FTP client to upload your files to the root directory.
To upload the site’s clone you need to have access to the site’s FTP. For that, you will need an FTP client. Usually, you can get an FTP login through the web host’s admin page.
For every case, it is important to make sure the folder you are copying the files to is completely empty and has no other files in there.
#4. Run the Duplicator installer script
After you upload all the files, you can now run the Duplicator installer script. To do so open the new website in a browser and add the installer.php at the end of the URL. It should be looking something like this http://test.com/installer.php where test.com is your domain name.
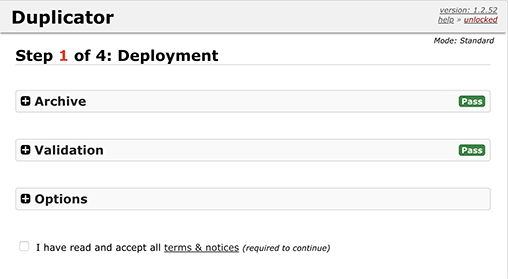
You’ll see the installer script on your screen. The installer will automatically look for the backup files and double-check if everything is set up correctly. Next, click the terms and conditions checkbox and continue.

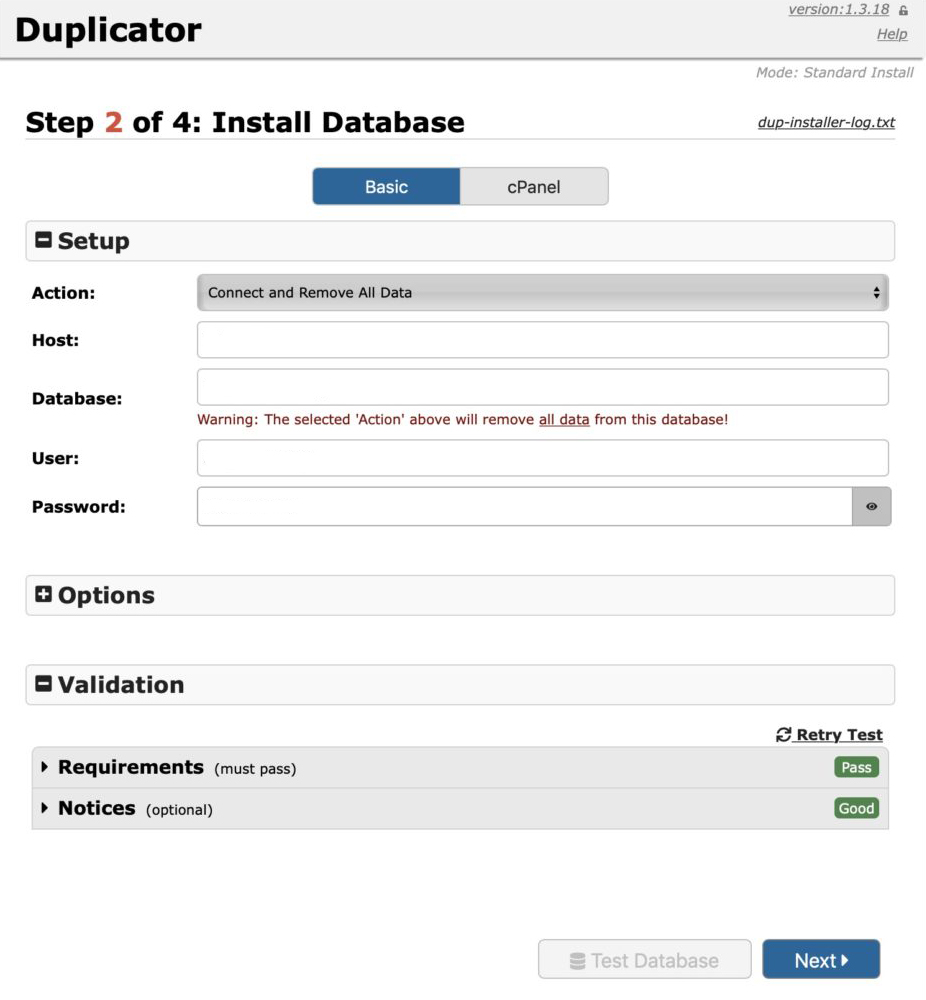

Remember, that Duplicator will delete everything in the database by default. So it’s better to run on the new one.
To make sure that the database information is correct check it by running the Test database option. And you can click Next to continue.
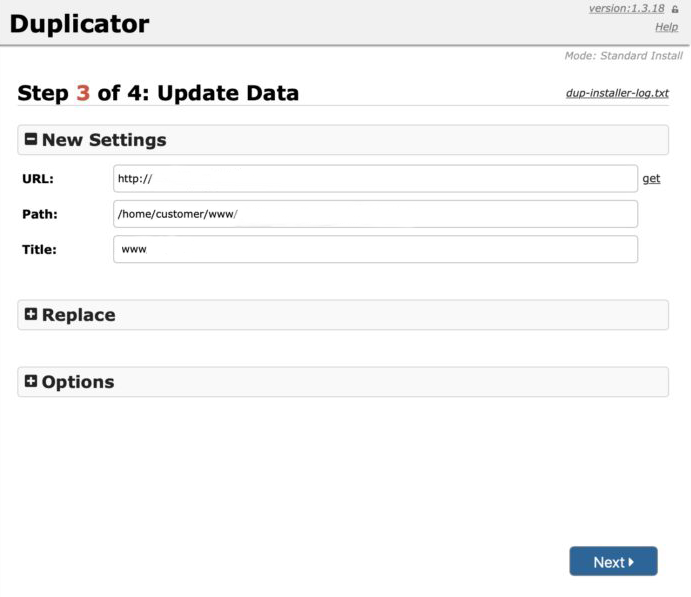
Now Duplicator will import the database and files. You will be asked to update the site’s settings.
The next option will let you select the new URL for your site. Although it will automatically apply changes and fill in the URL, path, title fields. So you can just click Next to continue.

The plugin will now finish the installation. You will see the admin login. Click on it and go to your new cloned site’s admin dashboard.
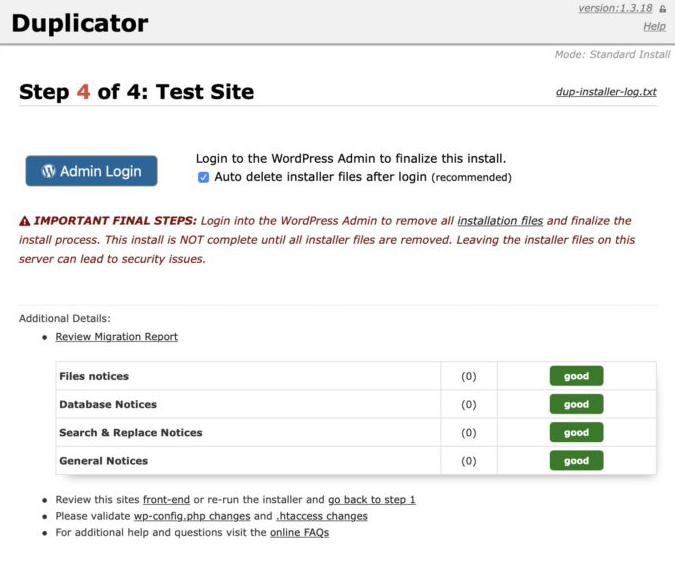

After this try and test your site – both admin area and frontend in order to make sure that the website is working correctly.
After the successful installation, it’s extremely important to delete the install files. By default, Duplicator will delete these files but you can always double-check.
Follow the Duplicator > Tools page and then click on the Remove Installation Files button.
Professional maintenance service
For the majority of the cases the above method is the easiest and fastest. However, you can always leave this to professionals. The team of Stylemix provides maintenance services which include the website cloning as well along other great options helping the site stay up-to-date and secured.