
WordPress is the most popular website platform in the world. There are currently 455 million websites using it and WordPress accounts for 62% of the global CMS market.
If you’re planning to launch your own website in the near future, there’s a good chance it will use WordPress. If so, welcome to the WordPress family!
If you’re a complete beginner and want to know how to install and configure WordPress, you’re in the right place.
As theme builders and WordPress experts, the Stylemix team spends their life within the content management system. So, who better to walk you through installing it and setting it up?
We’ll show you the three different methods you can use to install WordPress.
We’ll also show you how to set up a theme and install your first plugins. By the end of this guide, you’ll have a fully functional website all ready to go!
Before jumping to the topic, we highly recommend you visit best WordPress blog to follow in terms of tips, useful advice, and featured WordPress collections.

What you’ll need to be able install WordPress
The installation process is very straightforward but will depend on having a domain name and web host. One of the methods we use depends more on the web host than others, but all will require hosting in one form or another.
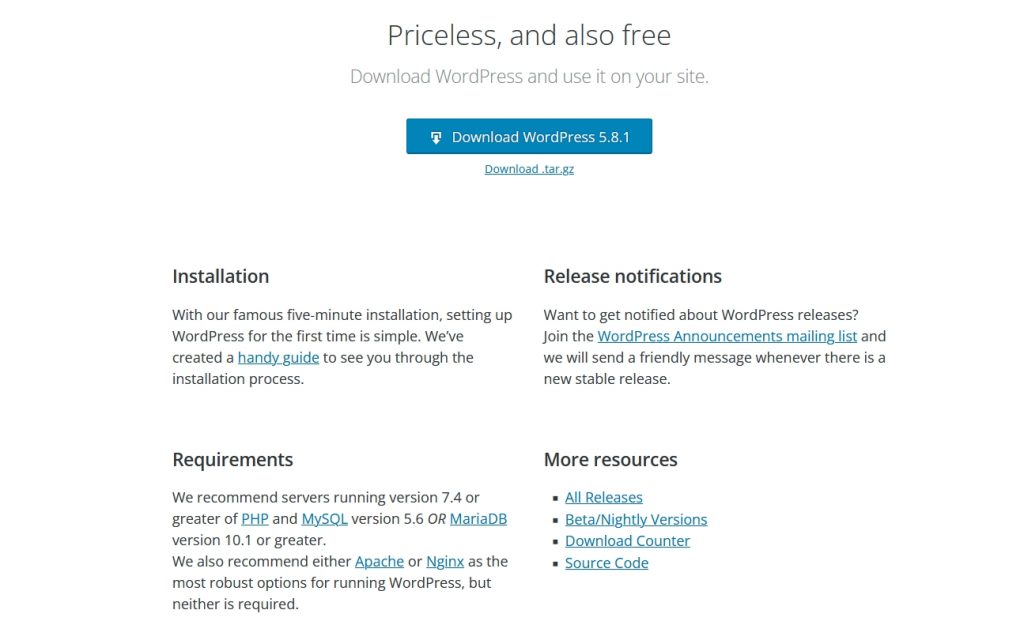
You’ll also need a copy of WordPress if you plan to install manually. It’s free and available from the official website.
Everything else we’ll pick up along the way.
Installing WordPress
As we mentioned, there are three main methods you can use to install WordPress.
You can:
- Use a web host that does it for you
- Use a software autoinstaller
- Install WordPress manually using FTP
We’ll show you all three methods so you can choose what’s right for you.
Select a web host that installs WordPress for you
By far the easiest way to use WordPress is to use a web hosting plan that has WordPress already installed.
When you sign up to your hosting plan, you’ll simply have to log in, name your blog and set everything up as you want.
Not all hosting plans come with WordPress preinstalled. Some charge extra while others don’t.
Read reviews, check out uptime, performance and any resource limits like bandwidth to make an informed decision.


Use a software autoinstaller
If you already bought web hosting and it doesn’t come with WordPress installed, it’s easy to set it up yourself.
Many hosting plans come with cPanel and a software autoinstaller. Those installers include Softalicious, Fantastico and QuickInstall.
They are platforms that will install applications within your web hosting plan and set them up for you.
As Softalicious is a very popular autoinstaller, we’ll show you how to use that. Your hosting plan may be set up slightly differently, especially if yours doesn’t use cPanel but the instructions should be similar whatever installer you use.
- Log into your web host and go to cPanel
- Scroll to Softalicious Apps Installer
- Select WordPress from the list of apps
- Select the blue Install Now button at the bottom of the new page
- Select the installation URL and complete the Site Settings sections as required
- Set an Admin username and password. Make the password secure as that’s what you’ll use to log in
- Select the blue Install button at the bottom of the page when you’re ready
Once you select the install button, the system will install the latest version of WordPress and create the basics of your website.


Once complete, you’ll be taken to the login page where you’ll need to use the admin username and password you created in order to log in.
Different hosts use different ways of working but setup should look and feel similar to the above if they use an autoinstaller.
Whatever system your host uses, setting up WordPress like this should take less than 5 minutes, especially if you follow the steps above!


Install WordPress manually using FTP
Installing WordPress manually offers no advantages over an autoinstaller except the satisfaction that you did it yourself. However, as it’s a viable method of installing WordPress, we’ll show you how to do it here.
You’ll need an FTP (File Transfer Protocol) client for this to work and that copy of WordPress you downloaded earlier.
We recommend FileZilla as an FTP client if you don’t already have one. It’s free, works on most system types and is very easy to use.
Here’s how to manually install WordPress:
- Unzip your WordPress download so you see the WordPress folder with all the files inside
- Install your FTP client if you need to
- Open your FTP client, we’ll use FileZilla
- Type your host name, username, password and port (optional) into the box outlined in red in the image above. You will have these details in your welcome email from your host
- Open the WordPress folder you unzipped in the left pane of FileZilla
- Open the root directory (public_html) in your web hosting plan in the right pane of FileZilla
- Select all the files within that WordPress folder on the left and drag them to the right
You should see the files being uploaded to your web hosting plan. You’ll see the files appear in the right pane but also a progress readout at the very bottom of the application.
Once complete, WordPress has been installed.
Now we need to set up a database.
Don’t worry, while it might sound serious, it’s actually very straightforward and we’ll walk you through every step!

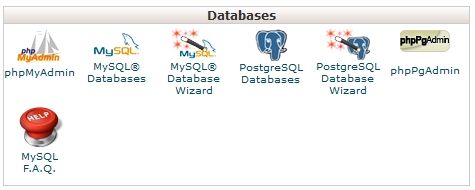
- Go back to cPanel and scroll to Databases
- Select MySQL Databases


- Add a meaningful name in the box at the top by ‘New Database’
- Select the Create Database button underneath
- Scroll down to MySQL Users


- Add a new user by completing the Username and Password boxes
- Select Create User
- Scroll to Add User to Database
- Select the database you just created and select the Add button
- Select the privileges to provide that user. You want ‘All privileges’
This will add an admin user so WordPress can write and use that database. All privileges are admin users, which WordPress requires in order to write to the database and maintain it.
Next, open your browser as we’re going to perform the final setup steps from within the WordPress installation you just created.

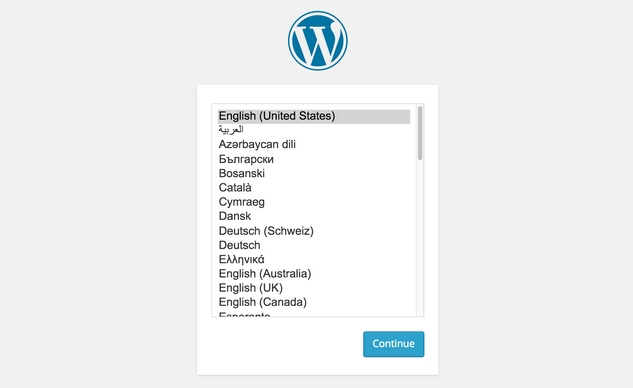
- Type your domain name into the URL bar and you should see a language selector screen
- Select your language and the blue Continue button
- Select Let’s Go on the next screen
- Enter your database name, database username and password in the next screen. You can leave database host as localhost and table prefix as wp_
- Select Submit to test the connection
- You should see a success message on the next screen with a ‘Run the Installation’ button. Select that
- Enter the Site Title, WordPress admin username and password and email address in the next screen
- Select Install WordPress when you’re ready
- Select the Log In button when you see the success screen
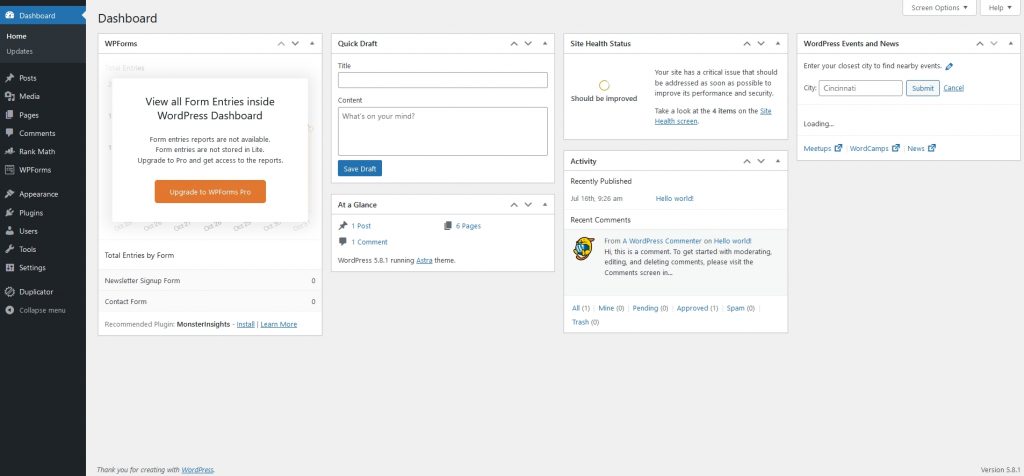
Type your domain name ending in ‘/wp-admin’ to log into WordPress. You should see the WordPress dashboard welcoming you to your new website!

That’s all there is to installing WordPress manually. There are quite a few steps but they are all relatively straightforward and easy to follow.

Installing a WordPress theme
Now the platform has been set up, it’s time to make it look amazing. That’s what we’ll tackle next.
WordPress themes come in all shapes, colours and sizes. There’s a theme for every taste, niche or conceivable use. Your main challenge when selecting a theme is choice!
We recommend finding a theme that’s well-coded so it runs smoothly, lightweight so it loads quickly and offers all the customization options you could ever need.
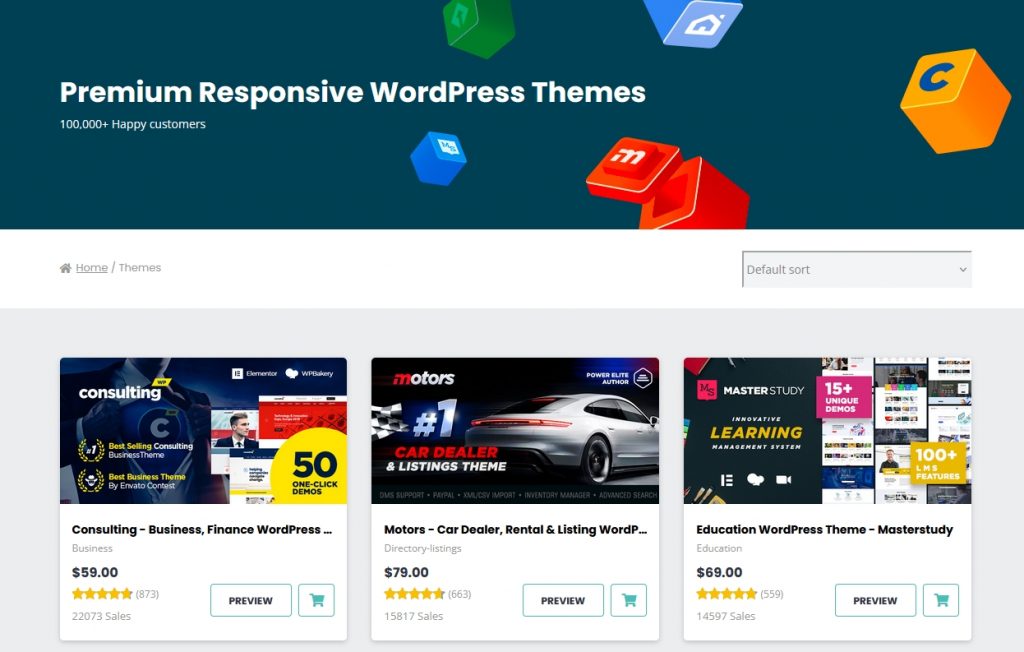
Check out some of the high performance WordPress themes from Stylemix Themes. They are fully responsive, use either the Elementor or WPBakery page builder and are designed to be easy to use and load fast.
You have two methods for installing WordPress themes.
As with installing WordPress, we’ll show you both and you can choose the method you prefer.
Here’s how to install a WordPress theme:

Installing a theme from the WordPress dashboard
Many themes will be accessible from the WordPress repository. This is the official source where developers can upload their creations for easy download.
It’s usually free themes only in the repository but some premium themes are upgradeable from their free version, so this is still a viable option.
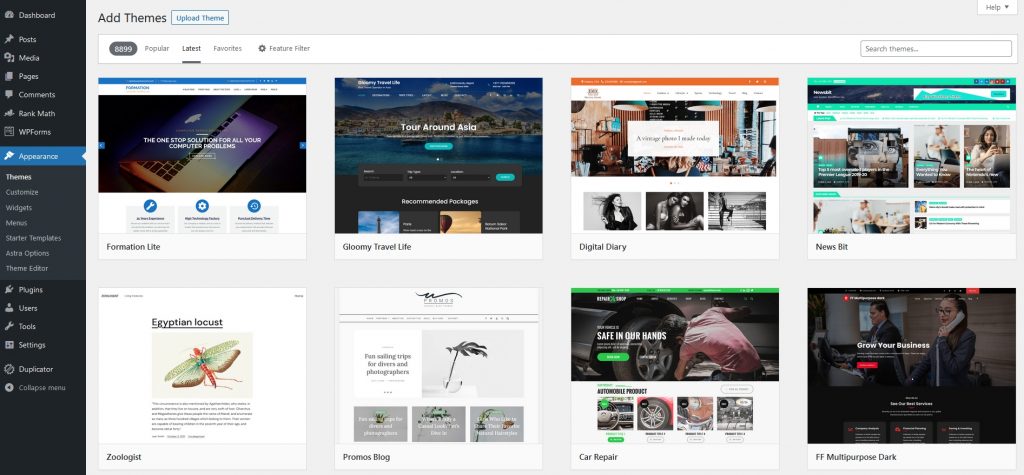
- Select Appearance and Themes from your WordPress dashboard
- Select Add Theme at the top
- Select a theme from the selection in the main window or type a name to search at the top right
- Hover the cursor over the theme you want and select Install
- Once installed, select the Activate button to enable it for use
Once done, the theme will add its own menu entry into your WordPress dashboard. From there, you can select and customize depending on how it is set up.

Installing a WordPress theme manually
If your theme isn’t in the WordPress repository, you may have to download and upload manually.
It’s a simple process that takes just seconds, so it’s very easy to do.
- Download the WordPress theme from wherever you bought it
- Unzip the file so you see the theme name as the folder name
- Select Appearance and Themes from your WordPress dashboard
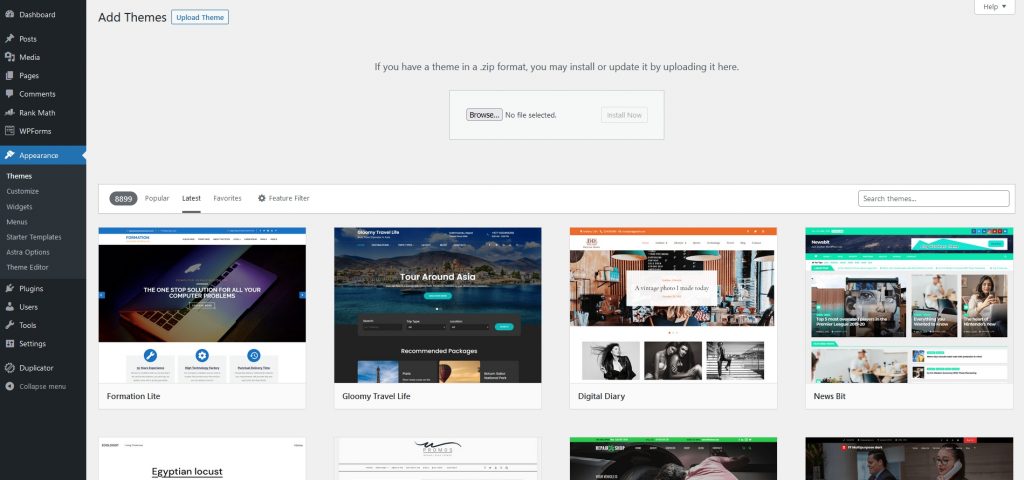
- Select Add Theme at the top then Upload Theme
- Select the Browse button in the centre and select the theme file you just unzipped
- Select Install Now and let WordPress install the theme
- Select Activate Theme when you get the option
Once activated, WordPress should update the dashboard with the new theme menus where you can customize as required.
Now you have a theme, you can go about building pages, writing content, adding images and making your website your own.
Your installation is fully operational and accessible from the internet so you could easily begin welcoming visitors and building your audience.
There is an optional next step to take if you like. Installing plugins.

Installing WordPress plugins on your new website
Installing WordPress and a theme is only part of the equation. You can take WordPress much further by adding plugins.
Plugins are software extensions that add features to WordPress or improve existing features. Some plugins are free while others are paid for.
There are literally thousands of plugins to choose from covering everything from web forms to security, SEO to eCommerce or eLearning.
The subject of plugins is huge and too much to cover here. However, WordPress isn’t fully set up until you have some plugins, so we’ll cover the basics here.
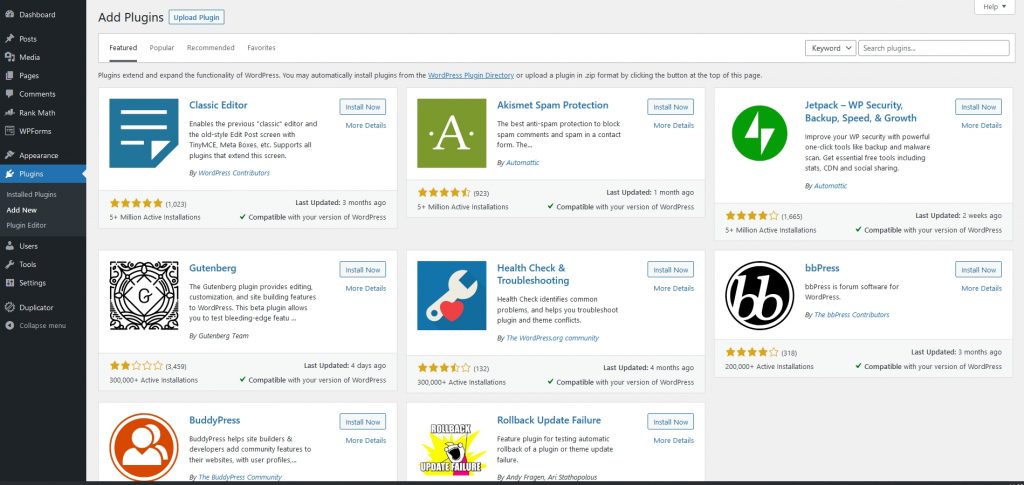
- Select Plugins and Add New from the WordPress dashboard
- Select a plugin from the list and select the Install Now button
- Once installed, you’ll see an Activate Now button, select that
Your plugin is installed!
Depending on the plugin in question, it may add its own menu entry to the WordPress dashboard or it may sit within Settings or Tools. Check within each of these if you don’t see a specific menu entry.
We recommend installing a few plugins from the start.
We recommend installing:
- An SEO plugin
- A security plugin
- A web form plugin
- A backup and restore plugin
- A WordPress caching plugin
You can also add optional plugins for email outreach, analytics, to add features such as sliders and effects, page builder plugins and a whole lot more.
As we said, WordPress plugins are a huge subject and maybe we’ll cover them in much more depth another time.
For now, install one of each of the above and you’ll be off to a good start.
Installing WordPress
So that’s it for our complete guide to installing WordPress. We hope you enjoyed it and that you found it easy to follow.
If you followed along, you should now have a fully operational WordPress website you can visit from anywhere in the world.
You’ll also have a WordPress theme, some basic pages, a bit of site content and some useful plugins.
While the installation process is complete, your work is only just beginning. You now have to add unique content, communicate your offer to your audience and begin building that audience.
It’s a long journey but it’s a thoroughly enjoyable one and we hope you enjoy it!